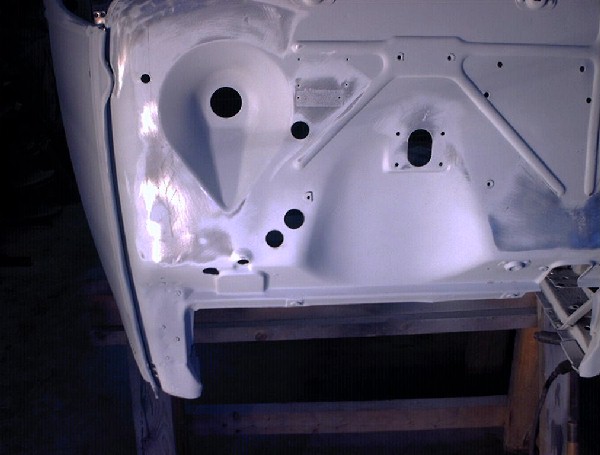
This first picture shows the extra holes before anything is done to them
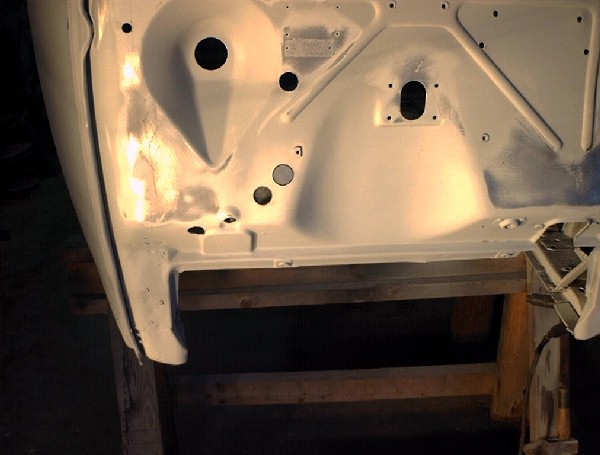
This next picture shows the plug in place before cleaning. I had the plugs laser cut from .070 thickness cold rolledby a friend who just happens to have Model A's and a laser cutting business.
 A close up view
  This shows how the plug is held in place for welding. I use a cheap welders magnetic angle I got at a cheap tool show. It is great for such as this.
 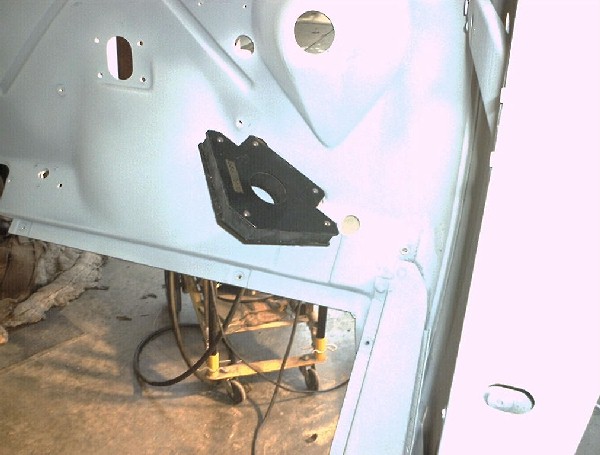 This is after welding. I use a Miller 110 MIG welder and find it is great for sheet metal and light welding. I feel it would be perfect for any but the most heavy welding on the Model A.
 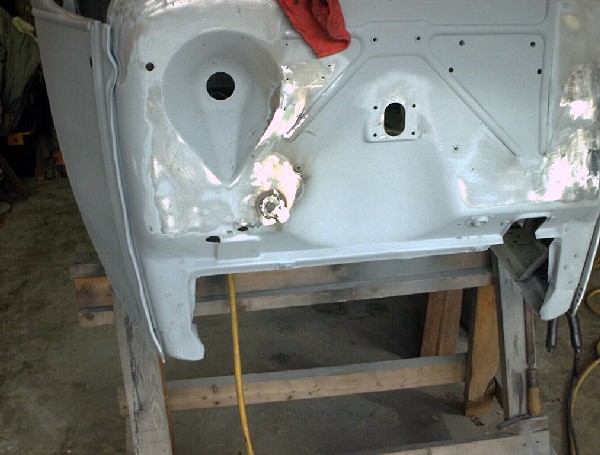 Another close up with a little grinding done. At this point I have plugged all 3 holes in this area and have already ground and dressed the other 2.
  The inside looks better than the outside but has inconsistancies that would show and I wanted the outside to be solid which the inside is not. I would have had to weld both sides to fill all the small holes so I left the inside to be ground and dressed as flat as possible. I will then use a little filler for touch up where it will never be seen.
 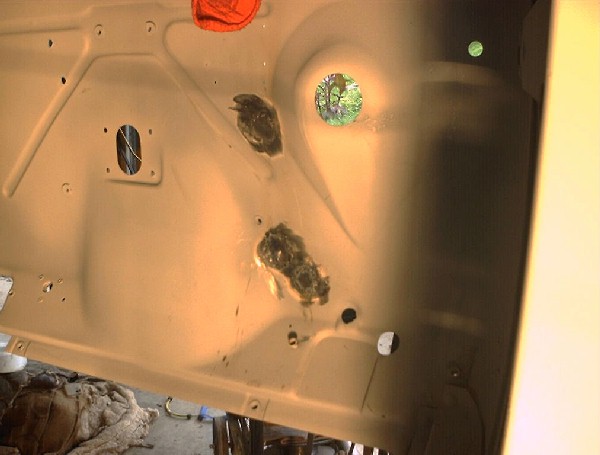 This is the front after grinding with a 4" side grinder and dressing with a 1/4" angle die grinder with a 3M sanding pad. It almost makes a mirror finish with 80 grit. I can imagine it would make a mirror with 150 grit. I then lightly sanded it with some 80 grit by hand to give the metal some grip for priming. This shows the shiny spots where each of the five holes were patched. I still have to patch the 3/8" holes where someone bolted a battery box to the top of the firewall.
 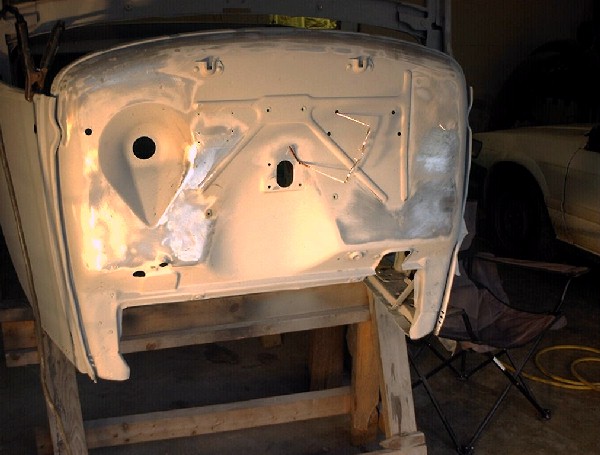 After priming. If the previous pictures were not in this post I think it would be almost impossible to find the spots from the outside. When I work on the inside a little more they will be just as gone. I do find I have a slight ripple in the last 2 holes filled as they were very close together and the metal had some slight warping. This may have been from the welding or the pressure of boring the holes in the first place. I will use a small amount of filler here to flatten this out after I work on it some with body tools.
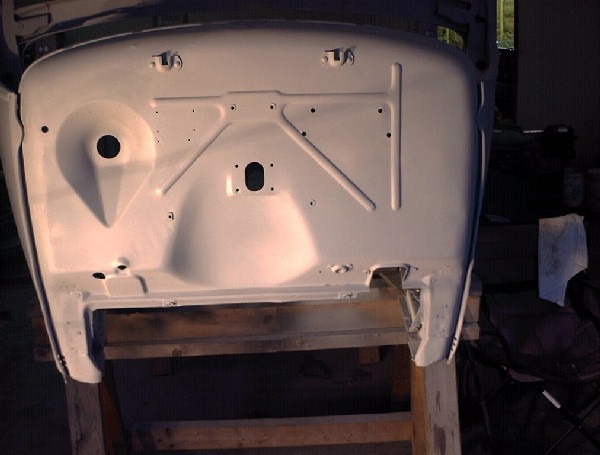
 I hope this is not too boring but someone might find this usefull sometime in the future in the archives. Thanks to all for bearing with me.
 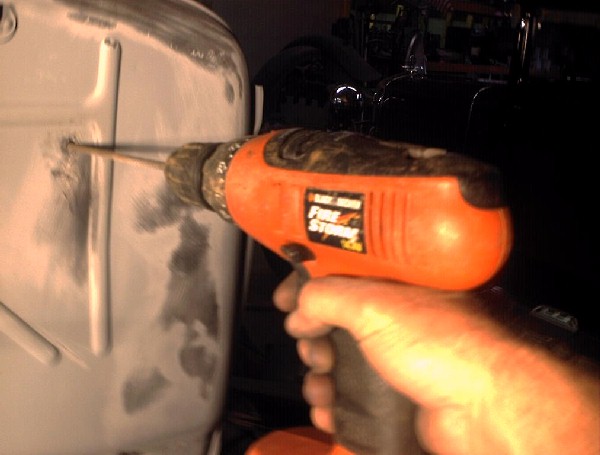 Once the hole is the right size the plug is inserted. If you look close you can see the slots. A good tight fit is good if the slots are made. If there are no slots a tight plug will not weld and when ground will come loose, or worse after painting.
  The plug welded. I make spot welds so I don't warp the metal. The firewall is 16 gauge so it might not warp but why take a chance.
 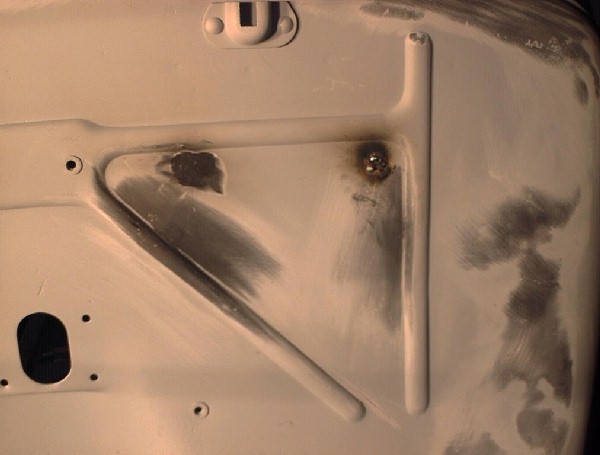 This shows the hole next to the last one after grinding with a 4" side grinder and smoothing with the die grinder.
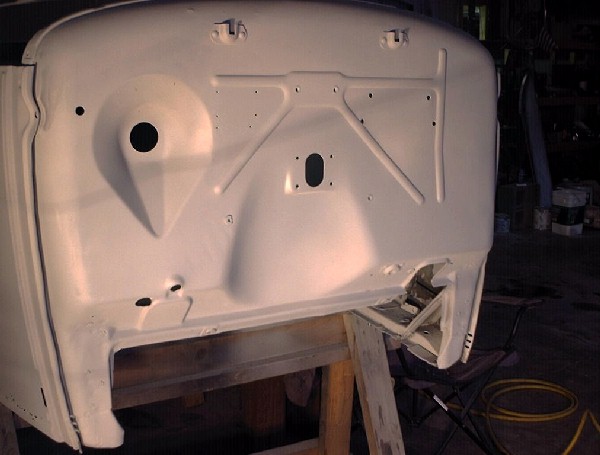
 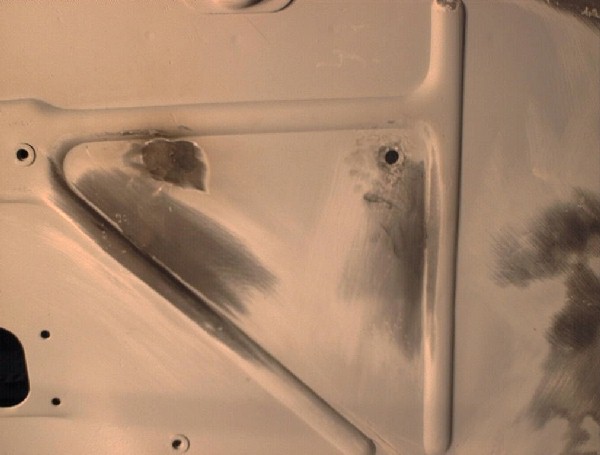 Here the firewall is after priming. I put a before and after picture here so you can see the results.
 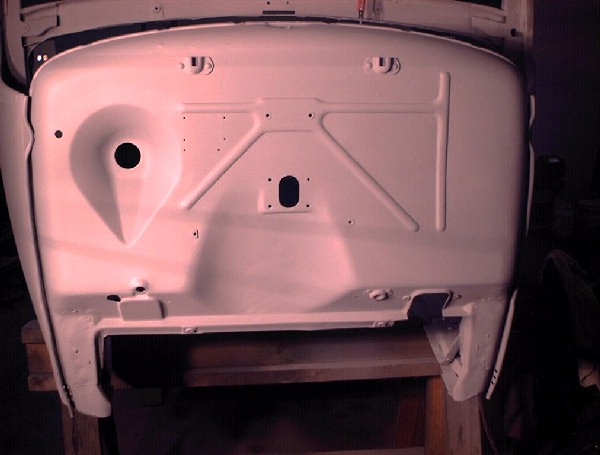 The key to getting smooth welds and good penetration is to make sure the metals are clean and there is a slight gap for the weld to build into.